|
4" Conversion " in process" |
|
The following is a photo essay of a 4" conversion being done in my shop. This is a large page with a lot of photos. So while you are reading this please be patient while it loads. I tried to get photos all along the way but missed a few. And in the interest of brevity these are the major ,important steps. So we will start with the obvious. I hope you enjoy it. Pricing for this conversion can be found on the packages page or the S&W page. |
|
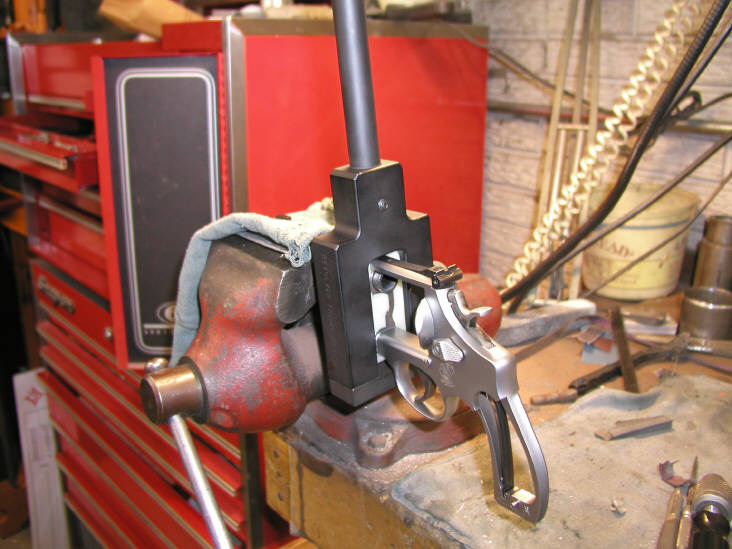
Remove barrel from frame. Always use the proper frame wrench to prevent springing the frame. |
|
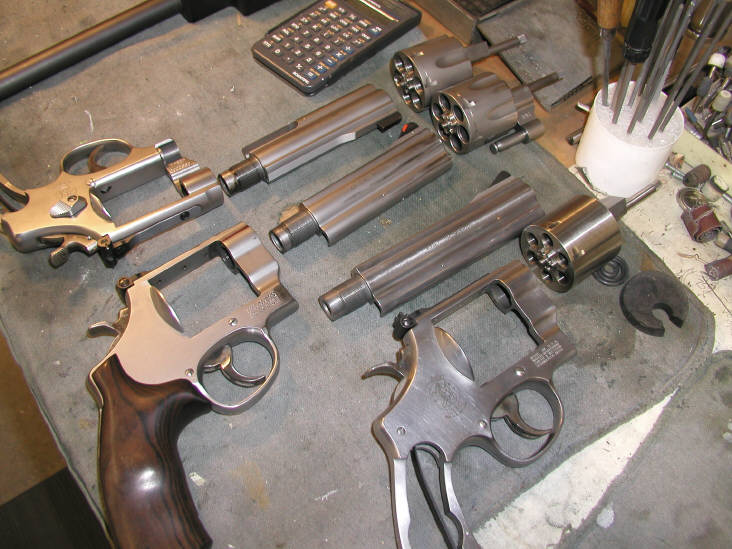
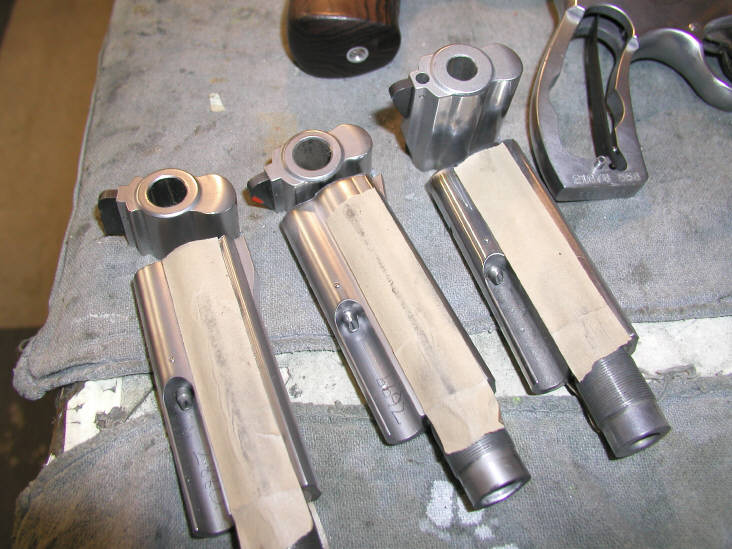
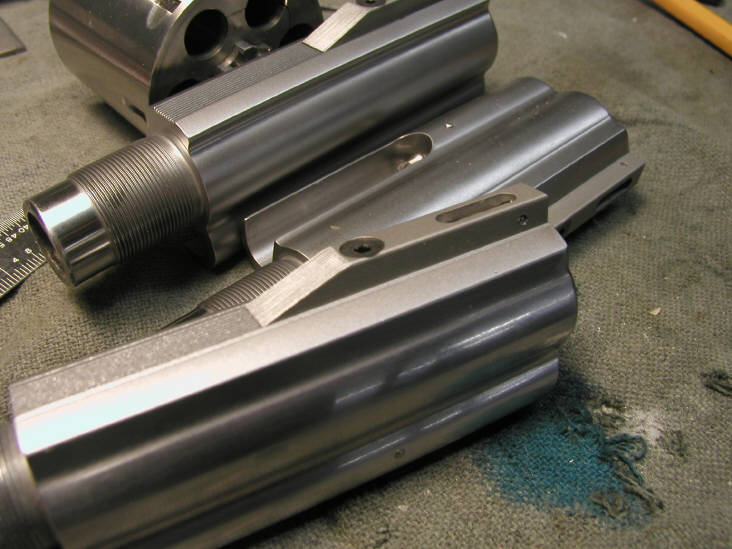
Working on three....Two 5" and one 6" inch |
|
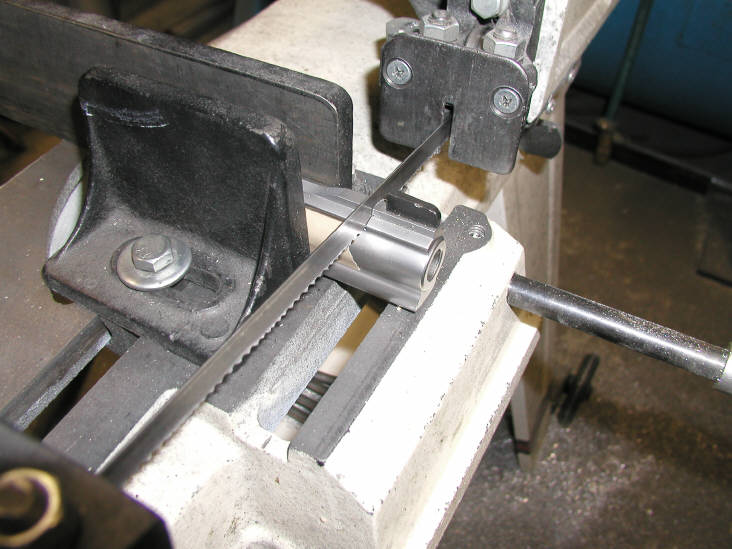
Remove some excess material . These Smith Stainless barrels are really tough. Pretty hard on the saw blade. |
|
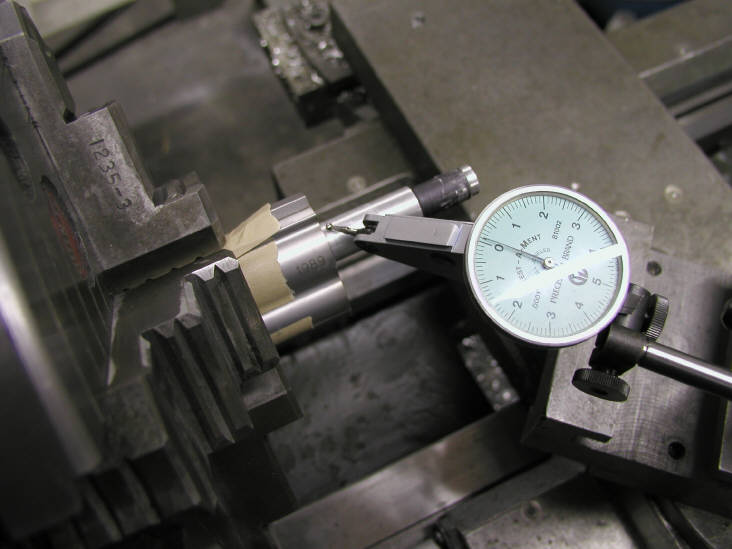
Set up in 4 jaw lathe chuck with bore indicated to within a couple .0001" |
|
Cleaning up the face of the barrel and setting the overall length to just under 4" |
|
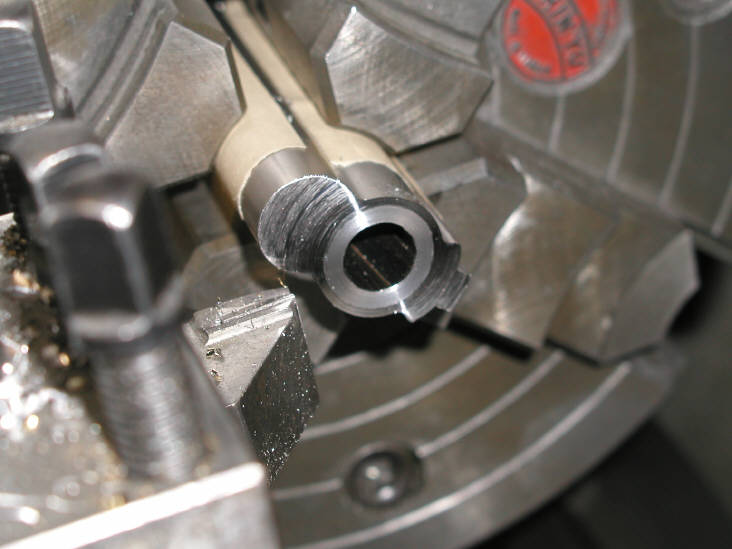
Cutting the crown angle. Notice that the area around the bore has been set back a bit. This raised portion will be the new crown. |

|
Cutting the muzzle radius with the radius tool set up on the lathe . A radiused crown is not needed but it is pretty. |


|
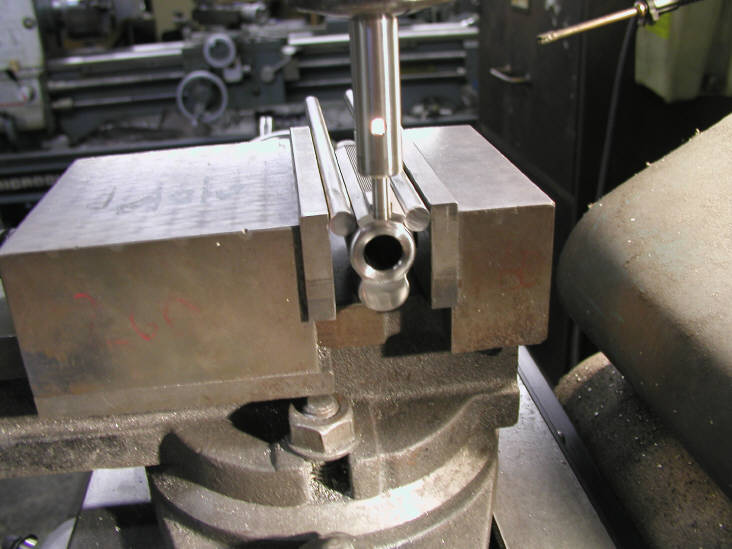
Out of the lathe and into the mill. Picking up zero's. The centerline was picked up off the bore (not shown) and here we are picking up the "X" zero. Notice that the muzzle has been cleaned up. Void of machining marks |
|
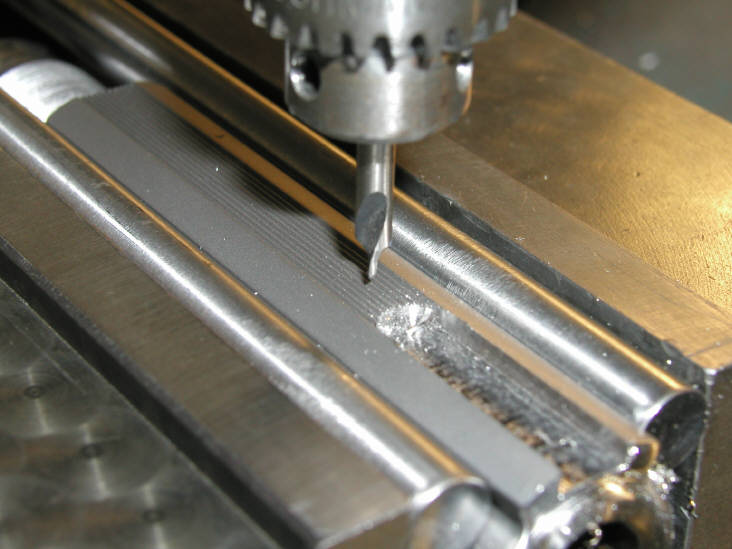
Next we will mill off what was left of the sight ramp and mill the slot for the new base. |

|
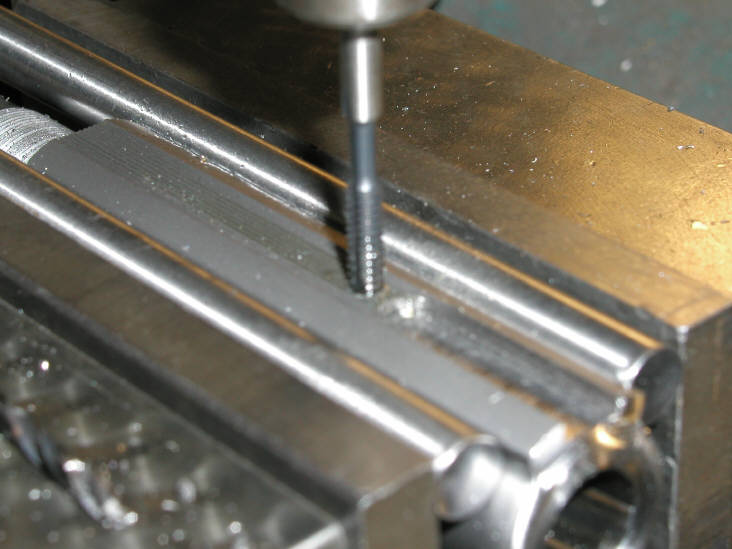
In the next three photos we will center drill , drill, and tap the hole for the base retaining screw. I start the tap while in the mill but finish it by hand. Turning a small tap into material this hard is scary at best. High performance taps and good lubricant are essential. |

|
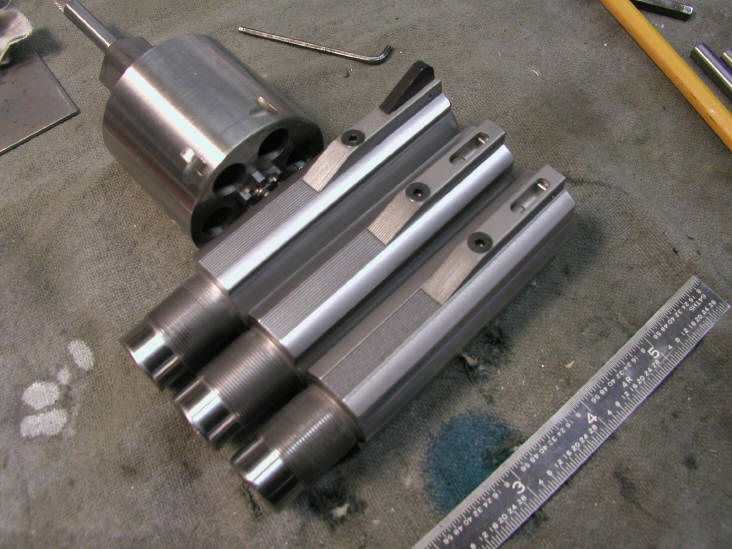
One down two to go |
|
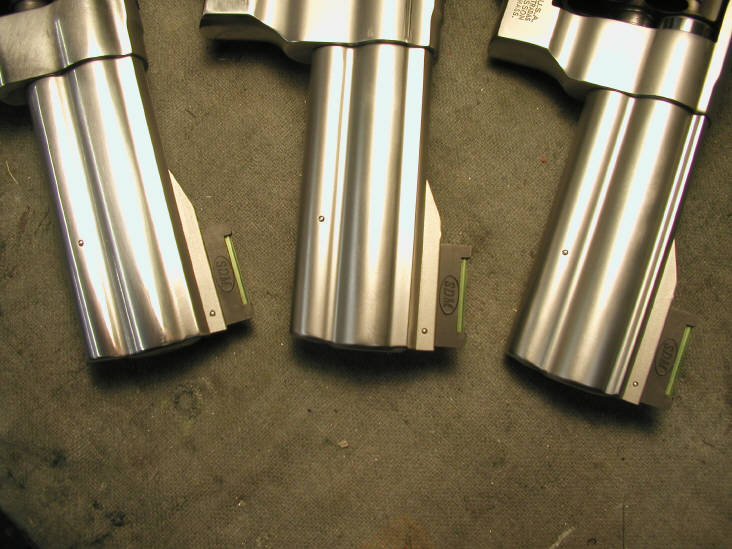
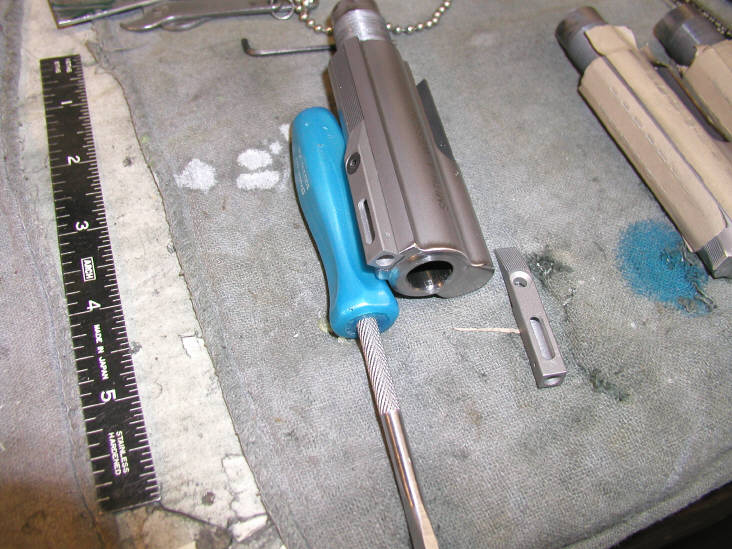
Almost done. Bases installed, barrels refinished. Notice that the barrel extensions have been chamfered and polished |
|
Barrels back on the frames and sights installed...All that is left to do now is sighting in |